
1. First remove any impeding wires, bolts, screws and or braces from the outside wall and the same to the inside of cab. There should be no interior, wires, or impeding parts or materials that could damage or catch fire.
2. Place filler panel onto the outside of driver and passenger side firewall and check fitment. Take a permanent marker and go along the edge of the filler placing a reference line on the existing firewall. Do the same for both driver and passenger. Take a cut off wheel or electric grinder with a cut off disk you can now remove your firewall. Cut inboard roughly ½ inch along the marked reference line. You can use masking tape as a guide for spacing.
3. There’s 2 braces that go along the inside of the firewall down along an angle on either side of the engine tunnel. You will need to separate the braces from the firewall Sheetmetal.
4. Take a 5/16” drill bit and drill out the spot welds along the outside of the firewall that attach the sheet metal to the braces. Hopefully at this point you have separated the old firewall from the Cab.
5. Having a ½ lip around the existing firewall will allow you to have a slight edge for the new fillers to rest for welding. Clean the perimeter of the old firewall with a grinding disk or some sort of abrasive tool to remove old paint. You will need nice clean metal for welding
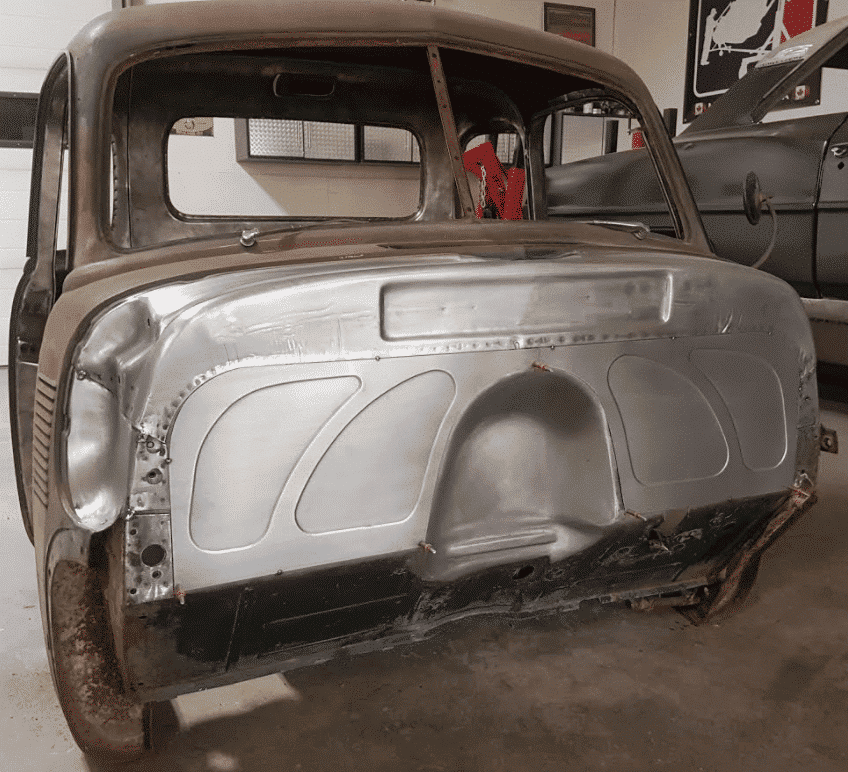
6. Place the filler panel onto the opening until it is lined up nicely with the top edge and outside edge. You can now tack weld the filler panels into place. **Slight trimming may need to be done to the middle of the firewall where the 2 fillers meet roughly 1” of material was left for cab diversity.
7. If you’re happy with placement of the fillers continue to tack weld them by going around the perimeter in 1” inch intervals. (Minimizing Warping) * Now that the fillers are welded you can grind down your welds and prep for bodywork.
For any questions or concerns with your install, don’t hesitate to email us at [email protected]
Also, here are some great articles on replacing a Chevy Truck firewall!
FIREWALL ARTICLES:
0 Comments